
In this tutorial I am gonna show you how to create silhouettes of an figure from any chosen image. You will need basic orientation skills in Photoshop. If you don't have such, don't worry. I will try to fill this tutorial with additional hints. Please leave a comment if you find this tutorial useful.
"Creating Silhouettes" by Bobi
STEP 1.

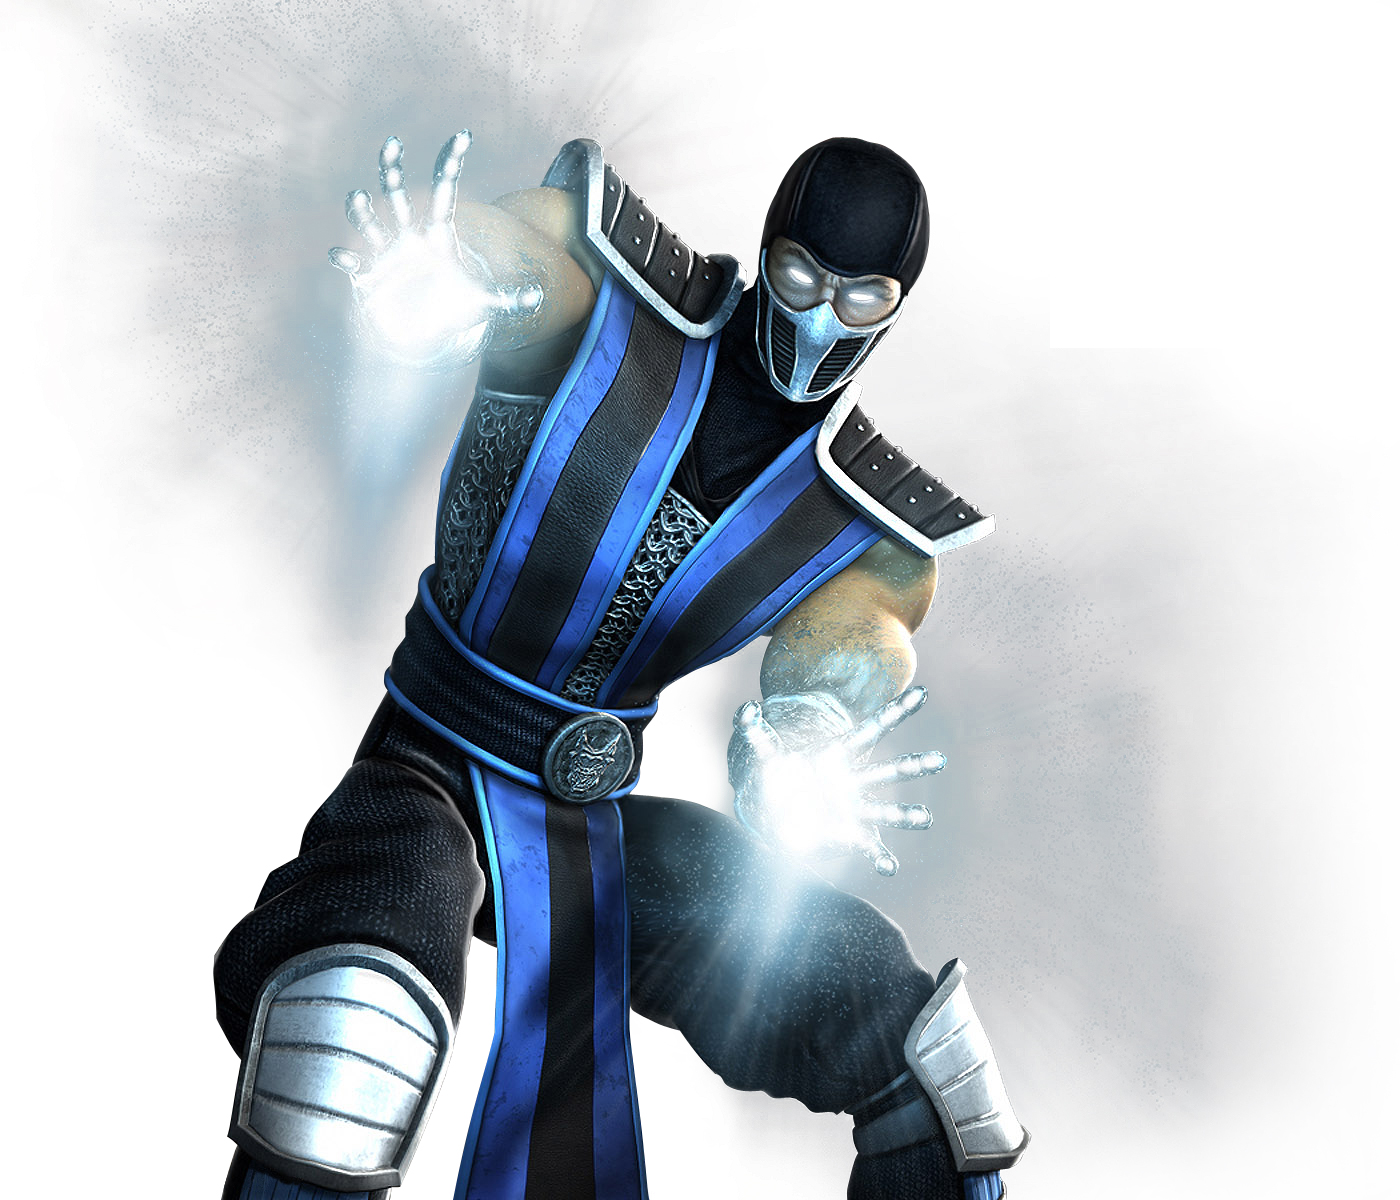 |
| Original image |
First thing you need to do is to import your figure. I assume you have already cut you silhouette. Everyone has their own way of cutting something out, so I will not include that part here. You can aways find useful tutorials, like this one over here. So let's assume you got yourself a nice figure to work with. I took mine from my personal MK collection.. Sub-zero is the best choice as aways.
STEP 2.
 |
| Black Overlay |
Now we need the shadow we are about to en-light, to do so >Right-click on your figure >Layer, select >Blending Options, now check the >Color Overlay attribute and set it to complete >Black.
I have that splashy stuff around Sub-zero hands which later on I will regret for sure, but for now I am gonna leave it just to show you how important is to work clear when cutting stuff.
STEP 3.
Now when you have good clean black shadow - it is time to make it more eye-catchy with adding some Gradient (Layer > New Fill Layer > Gradient), name it if you want and press ok. Set the Style to Radial and click on the color palette. Now, have some fun with the colors by going from dark to bright. I used black to blue to keep Subzeros reputation. When your done with the colors, check if your Gradient layer isn't above your silhouette. You should get something like the image below.
 |
| Gradient |
STEP 4.
 |
| Layer Mask |
To make it look more realistic, you'll need to work more on the light coming from the back of your figure. So let's add some masking (Layer > Add Layer Mask > Reveal) now select the brush and make it large, set the color to black. While you selected the Layer mask of your silhouette start drawing on it's very edges so they go transperant. Have some fun, put more transperancy here, less there - experiment, after all this for educational purpose - you will check the different comeouts very soon.
STEP 5.
 |
| Multiply |
I hope this was usefuel to you.
More photoshop tutorials are comming soon..
